
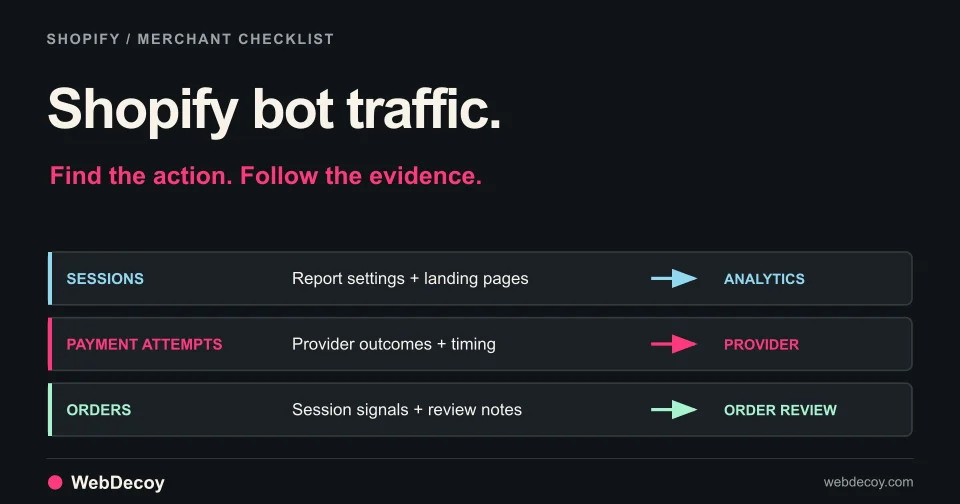
Shopify Bot Traffic: What to Check Before Blocking
Investigate Shopify bot traffic, fake abandoned checkouts and suspicious orders. Use a practical worksheet, native reports and a verified WebDecoy setup.
tutorialAdd FCaptcha to a Statamic contact form with the existing Captcha addon. Download a runnable example and reproduce eight backend verification checks.
AI agents can operate a browser and submit the same contact form as your visitors. FCaptcha is built to detect that automation at the action you protect, using browser automation signals, behavior and proof of work. You can inspect the source and run the verifier yourself.
Statamic developers can use FCaptcha through Aryeh Raber’s existing Captcha addon. This walkthrough connects a contact form to that provider, then checks that failed verification cannot save a submission.
Try the FCaptcha demo or download the runnable Statamic example. The example contains a form, configuration, localhost verifier runner and eight backend tests. It is intended for a fresh disposable site.
On November 10, 2026, we ran the example with Statamic CMS 6.40.0, Statamic skeleton 6.5.3, Captcha addon 1.18.0, FCaptcha 1.48.0, Laravel 13.40.0 and PHP 8.5.10.
The tests send requests through Statamic’s real form endpoint and the released FCaptcha Node verifier over localhost HTTP. They inspect the stored-submission count after each case.
| Request | Result | Submission storage |
|---|---|---|
| Form page | 200; widget script and response field present | No submission |
| Missing token | 400 | Unchanged |
| Malformed token | 400 | Unchanged |
| Valid signed fixture | 200 | One new submission |
| Replay of that fixture | 400 | Unchanged after the first save |
| Tampered signature | 400 | Unchanged |
| Incorrect verification secret | 400 | Unchanged |
| Verifier connection refused, JSON request | 503 with retry message | Unchanged |
| Verifier connection refused, ordinary form | Redirect with validation error | Unchanged |
Eight tests and 22 assertions passed. The valid-token case uses a signed fixture created with disposable local keys. It isolates backend verification and replay behavior; it does not demonstrate a human or an AI agent completing the widget. The form was also rendered in Chrome without solving its challenge. These checks establish integration behavior, not an AI-detection benchmark.
Read the captured test output.
In an existing compatible Statamic project, install the addon and publish its configuration:
composer require aryehraber/statamic-captcha
php please vendor:publish --tag=captcha-config
For the exact disposable test environment, the download’s README pins the skeleton, CMS and addon versions. It also includes the form blueprint; you do not need to create a control-panel account to reproduce it.
Run your own FCaptcha service, then set these values in the Statamic application’s private .env file:
CAPTCHA_SERVICE=Fcaptcha
CAPTCHA_SITEKEY=your-public-site-key
CAPTCHA_SECRET=your-private-verification-secret
CAPTCHA_SERVER_URL=https://captcha.example.com
The public site key belongs in the widget. The verification secret belongs in Statamic’s backend. FCaptcha’s signing secret stays on the verifier; it must never be embedded in a page or committed with the example.
In config/captcha.php, retain the published configuration and select the form handles you intend to protect:
'forms' => ['contact'],The handle must match your actual Statamic form. Installing the addon while leaving this list empty does not protect that contact form.
After editing environment values or cached configuration, run:
php please config:clearThe local example generates separate temporary signing and verification secrets. Its runner binds the verifier to 127.0.0.1:3811; the form runs at http://localhost:3812/fcaptcha-contact. Use the README’s localhost setup for testing and your normal HTTPS service setup for deployment.
Add the head tag to the page head and the widget tag inside the protected form:
<head>
  {{ captcha:head }}
</head>
<body>
  {{ form:contact }}
    <label for="email">Email</label>
    <input id="email" name="email" type="email" required>

    {{ captcha }}

    {{ if error:captcha }}
      <p role="alert">{{ error:captcha }}</p>
    {{ /if }}

    <button type="submit">Send message</button>
  {{ /form:contact }}
</body>
This is the template fragment; a complete document and matching blueprint are in the download. Keep Statamic’s form tag and existing CSRF and honeypot controls. The addon renders the fcaptcha_token response field and populates it after verification.
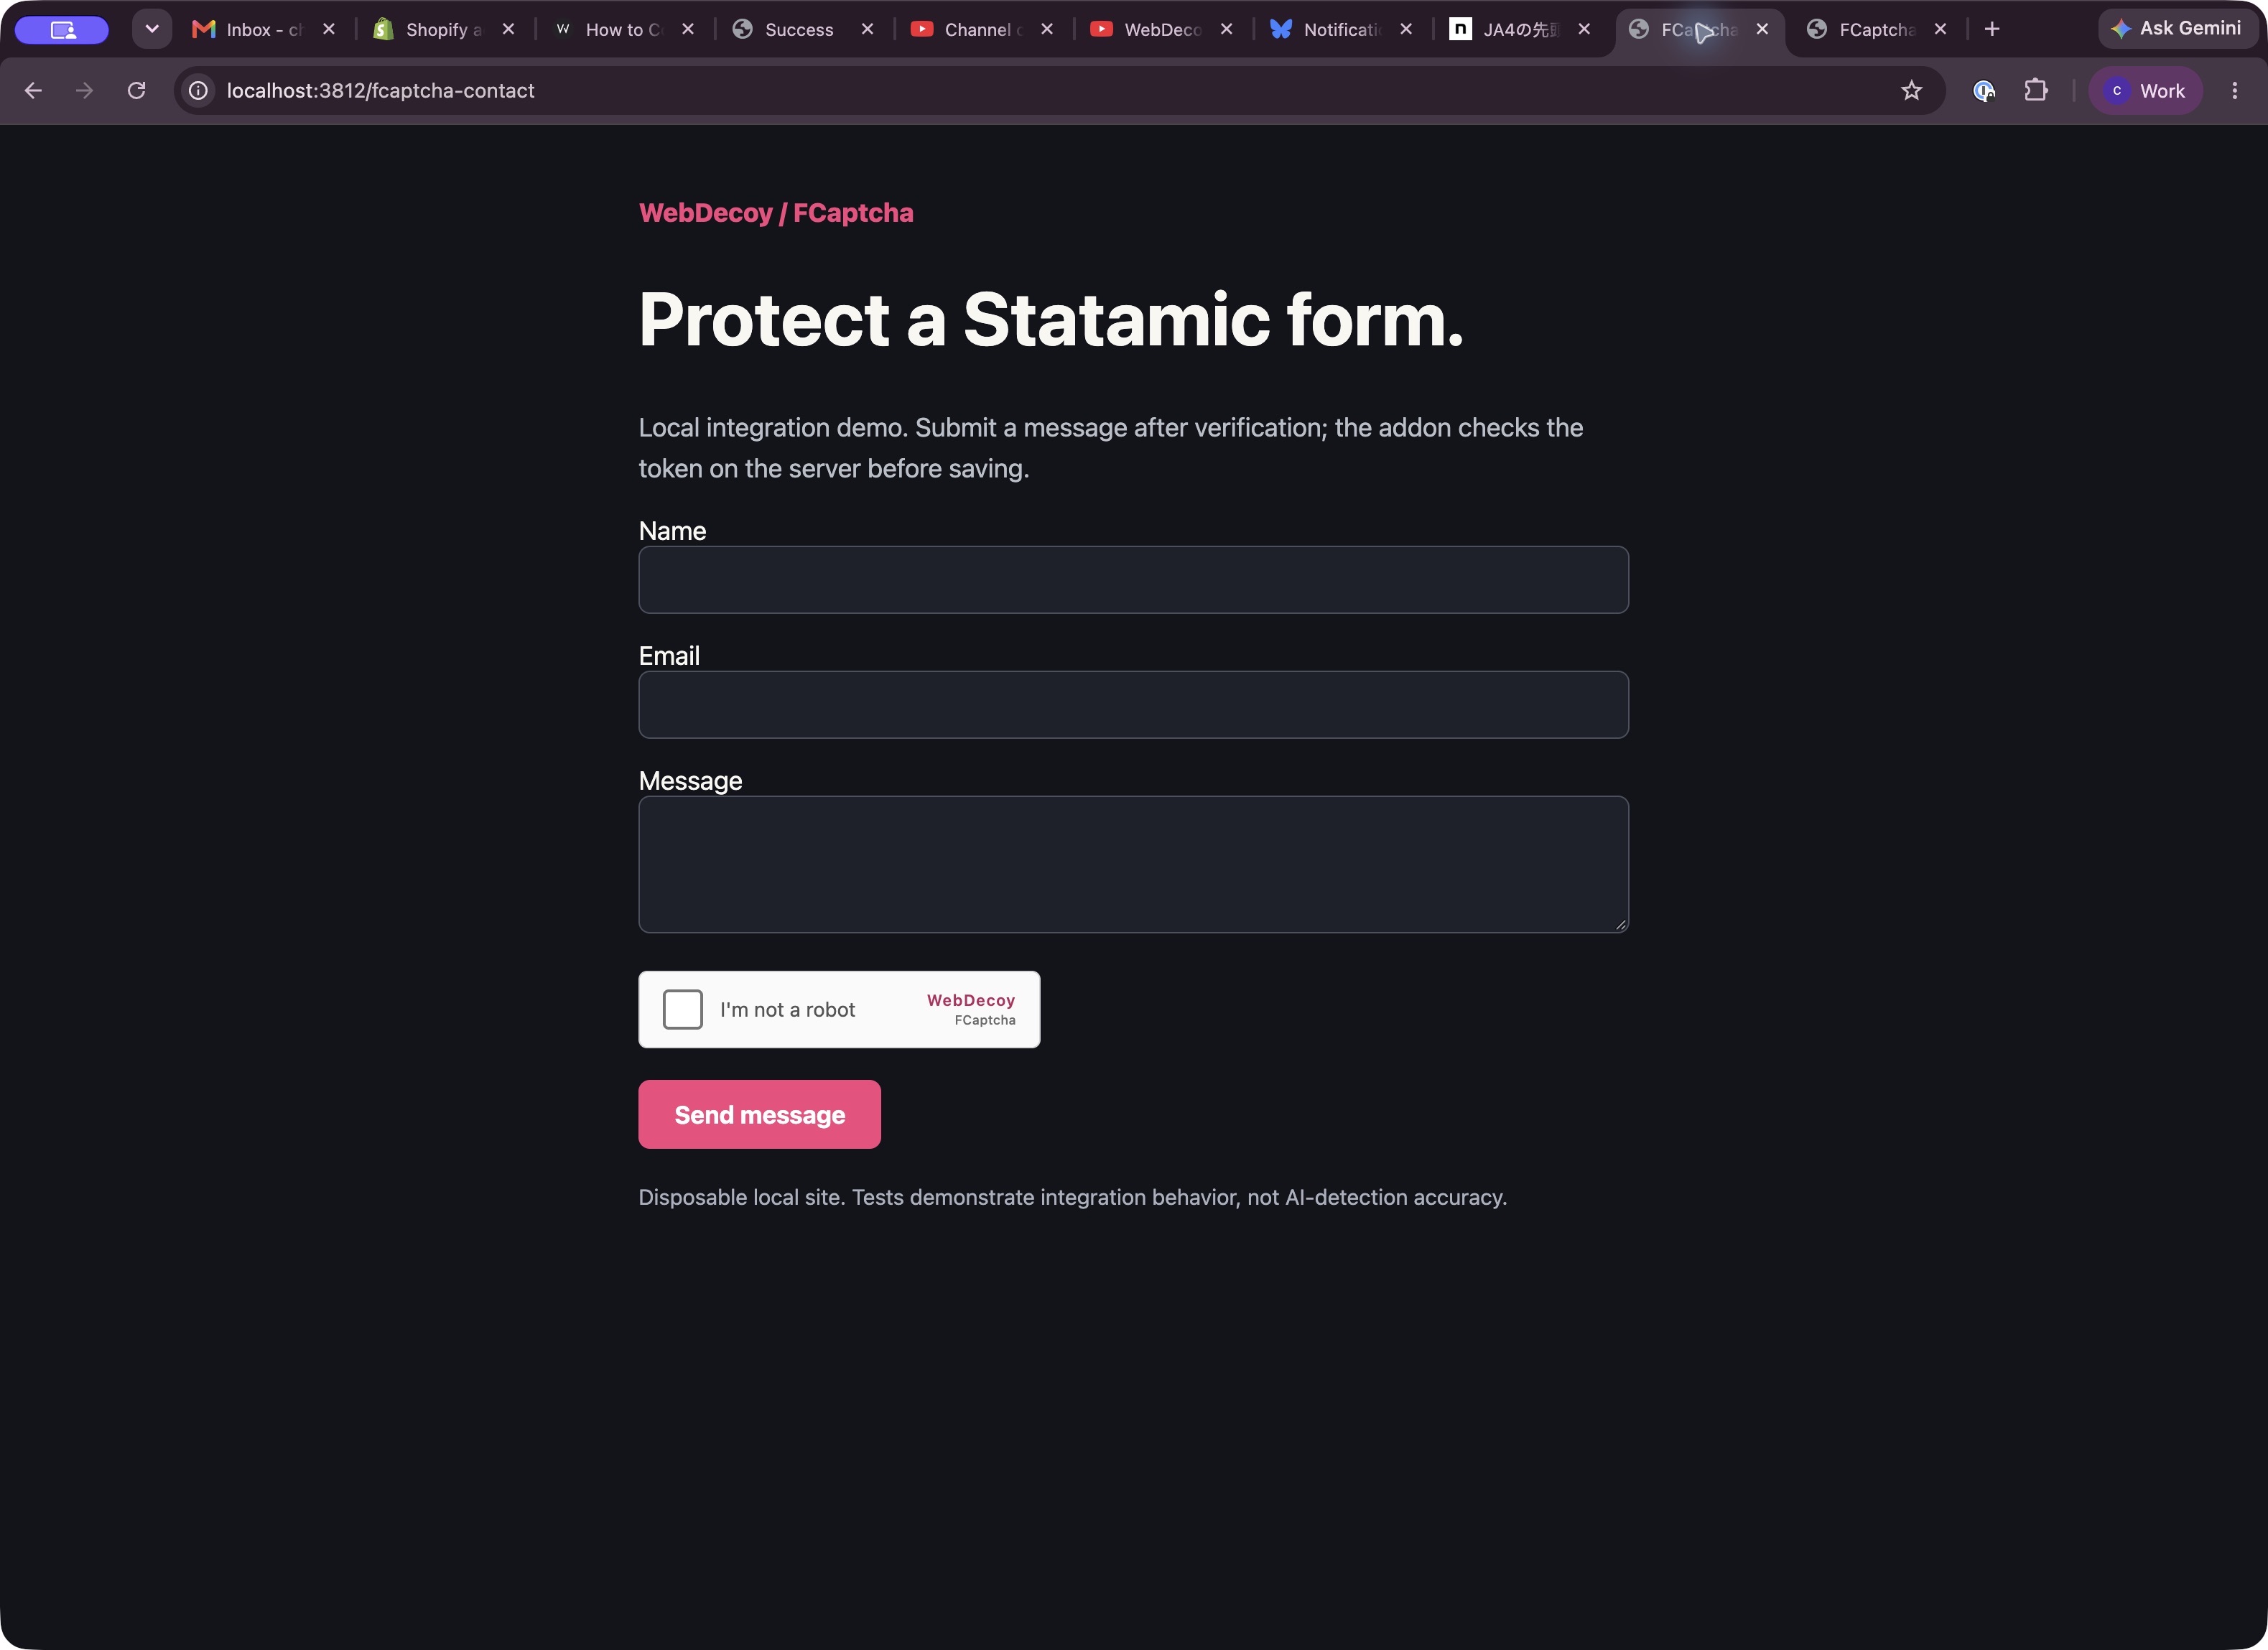
Actual local integration capture. The styled page is part of the downloadable example, not the Statamic control panel.
The browser submits the token with the form. The addon sends it from Statamic’s backend to the configured verifier’s /turnstile/v0/siteverify endpoint. The provider checks the returned success flag, and failed verification adds a form validation error before storage.
Our tests confirmed this by checking storage after missing, invalid and replayed tokens. A green widget state alone would not establish that the backend is protected.
The addon by itself surfaced connection refusal as a server error. The example adds a narrow handler in bootstrap/app.php: only a verifier transport failure on the Statamic form submission route receives the retry response. JSON requests get 503 with a verification error; ordinary form requests redirect back with a validation error. Neither path saves the submission. Keep this rejection behavior when adapting the handler to your application.
The addon’s optional IP check needs matching visitor addresses on both sides. This localhost example leaves it disabled. Configure trusted proxies and confirm address agreement before enabling CAPTCHA_VERIFY_IP; IPv4/IPv6 differences can matter. The addon documentation explains that setting.
Follow the downloaded README to start the disposable app and local verifier. Then, from the app directory:
export FCAPTCHA_SOURCE="$(cd ../fcaptcha && pwd)"
vendor/bin/phpunit tests/Feature/FCaptchaFormTest.php --testdox
The fixture helper is CLI-only and explicitly enabled by the tests. It signs a token using the temporary local key; it must never become a public token-issuing route. Run this in the disposable site, since the successful case intentionally saves a fake submission.
After the integration checks, evaluate your own ordinary visitor flows, devices and accessibility requirements before enforcement. This walkthrough covers contact forms; login and registration are separate addon settings that it leaves disabled.
Start with the live FCaptcha demo, inspect the open-source verifier, then use the Statamic example to verify your backend wiring.
For bot traffic across the wider site, install WebDecoy with the integration appropriate to your stack. FCaptcha protects a form or action; WebDecoy’s site traffic detection and analytics are a separate installation.
This tutorial and example were prepared with AI assistance and tested by WebDecoy. Statamic and the Captcha addon are third-party projects; the addon credit belongs to Aryeh Raber.
Yes. Aryeh Raber’s Captcha addon includes an Fcaptcha provider. Configure the verifier URL, public site key and private verification secret, protect the relevant form handles, and add the head and widget tags.
The backend must verify the submitted token before saving the form. In this example the existing addon performs that check during Statamic’s FormSubmitted event.
No. They check form rendering, backend verification and storage behavior using a controlled signed token fixture and invalid requests. They do not solve a browser challenge or measure detection accuracy.
Investigate Shopify bot traffic, fake abandoned checkouts and suspicious orders. Use a practical worksheet, native reports and a verified WebDecoy setup.
tutorial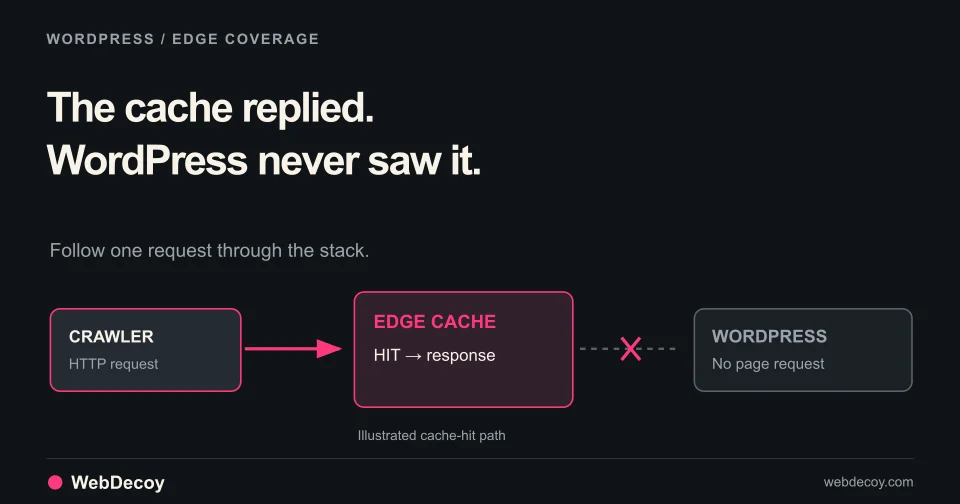
Check cache headers, origin requests and browser signals to explain missing bot logs. A practical coverage audit for WordPress behind Cloudflare.
tutorial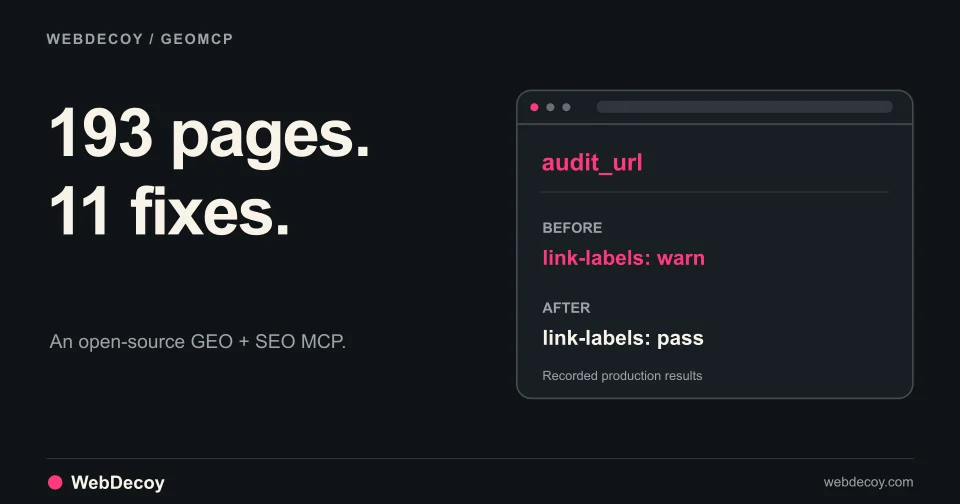
GEOMCP found 11 small issues across our site. Here are the real findings, the fixes, and how we verified them through an MCP client.
tutorialLike this post? Share it with your friends!
Get a personalized demo from our team.